“Ryobi 18-Volt ONE+ Lithium-Ion Cordless Underwater Stick Pool Vacuum Kit for In Ground Pools, Above Ground Pools, and Spas “
Meet the X-Ryobi 12v corded pool Vacuum!

While adding the slight inconvenience of a wire, the complete unit is about 1/4 the weight making it easier to maneuver. Since there are almost no pockets of air (once submerged) the unit does not require added weight to hold it down. The 1100GPH pump seems to have more suction that the original Ryobi and there are no circuit boards to protect.
I really wanted to like the Ryobi 18v pool vacuum… but they break way too easily for a $200 to $300 product.
I purchased one of them broken for parts. When I took it apart to try and fix it I found the motor compartment spotless but the battery compartment corroded beyond hope. Oh well. it was only $20. Worth a try. So I found another one on eBay just listed as used for $50. The used one worked twice and then started to turn on by itself when tilted certain ways. It did not work after that. I took it apart to find the battery compartment spotless but the motor compartment full of rusty water. OK, no problem. I have one unit with a spotless motor and another with a spotless battery housing. Simply build one good unit out of the two!
My rebuilt Ryobi pool vac worked great and I loved the convenience. I get a lot of small leaves and dirt on the bottom. My filter and pump are in a very inconvenient location and I usually use it on low speed so getting out the hoses and stick vac, turning the pump to high and dealing with the hoses when trying to clean is just such a hassle. With the Ryobi I could have the pool clean in less time than setting up my other options.
Unfortunately the joy didn’t last. At first I would inspect the Ryobi unit after every time I used it, to look for any signs of leaks. After maybe 15 uses I was confident it was working and neglected to check…. and of course it leaked! When I went to use it again two days later, it was full of rusty water and my expensive high capacity battery was destroyed!!
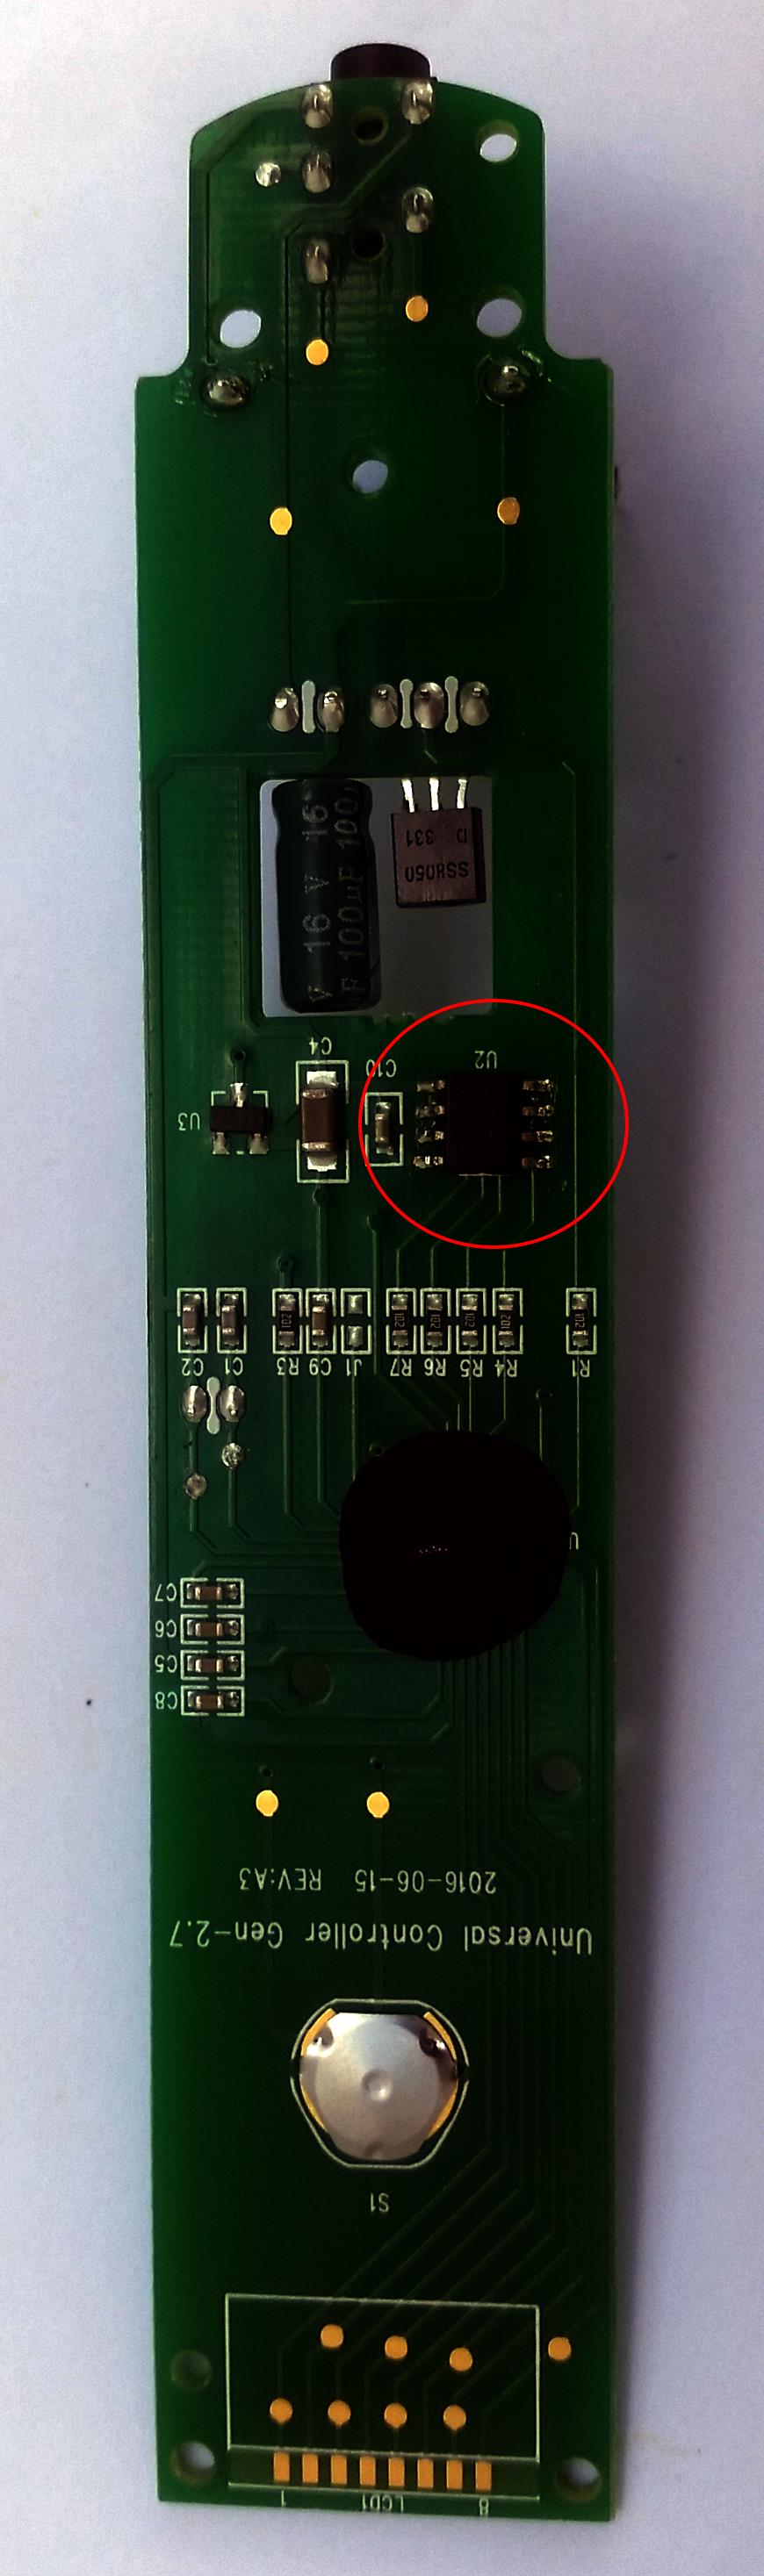
I took it apart and there appeared to be only minor damage (other than my battery). The motor compartment had leaked and then water got into the battery compartment from there…. by dripping through a switch that turns on the inductive charging pad. Just a little rust on the motor housing and slight signs of corrosion on the PCBs. However, the switch the water dripped through was junk. It didn’t seem too important so I just shorted the wire so the unit would always think a battery was installed… which was the plan anyway. No reason to ever take the battery out and I’d rather not disturb the seal if not necessary. BUT that was all a waste of time… water was leaking in through the motor.
I really was attached to the idea of an electric powered pool vac so I looked around for alternatives and could not really find a reliable one. Reviews were common on just about all of them stating it worked a few times then stopped. That must be leaks as well.
SO! I decided to buy a refurbished Ryobi this time… with a guarantee, free retunrs AND I purchased the extended warranty plan you often see available with on-line purchases.
Well, the refurbished unit came in but I wasn’t going to trust it. I took the plate between the battery and motor so I could see in there and it looked good! No sign of rust or water damage. I was not worried at all about causing a leak by taking it apart because 1) I know what I’m doing. And 2) Any water would have to leak in through the battery compartment before it could get to the plate I took off for inspection.
Unfortunately…. once again the joy of a working unit did not last. The very first time I used it I noticed extra bubbles coming out of the unit after 5 minutes of use. No air should have been available to create bubbles at that point. I took the vacuum out of the water, turned it off and drained it. And when I tilted the unit a certain way, it would power on by itself! Just like my first one did…. the motor was full of water! Battery compartment was completely dry. Luckily I was able to cancel the extended warranty and return the unit. But I lost any hope of ever finding a reliable cordless pool vac. Time to take matters into my own hands!
Now it’s powered by a 12v 1100GPH bilge pump

The 12v DC bilge pump only cost $15 so it’s an inexpensive project once you already own the Ryobi AND if the pump breaks it will be cheap and easy to replace.
Once the guts are all removed…. that does require a security pin TORX T-20 screwdriver (or a dremel to cut the 4 screws)… all I did was drill a hole on the side for the pump nozzle and used a few tie-wraps to hold it all in place. At first I tried it with the nozzle pointed out the new large hole at the bottom but that stirred up the dirt and leaves while in use. It works much better pointed out the side.
The battery I used was one I had around already. It’s a smaller size 12v 4.5ah sealed lead acid battery. I just added a fuse and a switch. For wire I used the power cable I cut off a broken power washer. You could use an old extension cord as well. The pump is only 3 amp max so a 115v, 15 amp extension cord is a bit over kill. 18 awg is plenty for the wire.
The last touch is simply an old hand bag to tote the battery on your shoulder and a hook on the extension pole to help hold the wire. My wire is long enough that I could just place the batter on the deck and reach everything but I like to keep the pole shorter and move around.